
Estimated reading time: 6 minutes
Survival knots are an adventurer’s best friends.
Knowing how to tie the right knot in the right situation can be the difference between getting home safe and having to contact a rescue team (or worse).
It may seem easy enough if you’re a novice hiker, but you’ll be surprised at the amount of time needed to master every not for every situation.
Depending on how quick of a learner you are, learning and mastering one knot may take you several minutes to several hours.
If you ask me, it’s better to start with the most essential knots for hikers, the ones that you’ll be using most of the time during your adventures.
Master These Knots Today
Below I’ll teach you how to tie the four most essential knots you’ll need as a hiker.
I’ll explain to use each of them then guide you, in detail, on how to tie each knot.
Related Post: 20 Extreme Adventures You Should Go On Before Your Die
1. The Square Knot: An Easy Knot For Simple Jobs
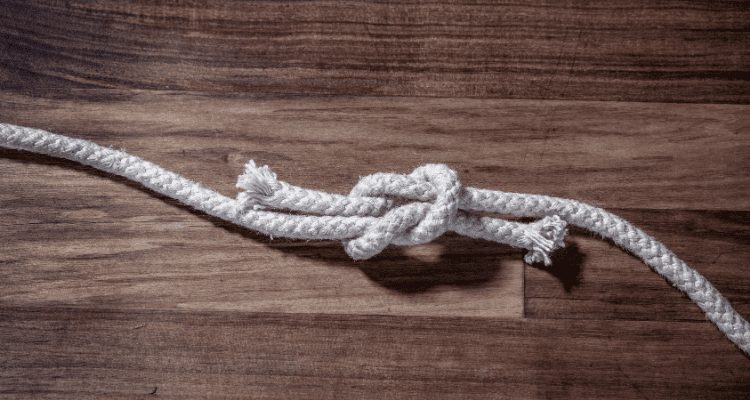
The Square knot is one of the most basic and easiest knots to learn. Also known as the Reef Knot (because of its use by mariners on ships), you can use this knot to tie things down in non-critical situations.
Just remember that the square knot isn’t good for joining two ropes of unequal thickness together (You need the Sheet Bend for that). This knot also slips when using a nylon rope or if it’s not under constant tension.
You can use this knot in situations such as the following:
- To tie bandages in first aid
- To tie bootlaces or shoelaces
- To tie belts and sashes
- To tie plastic bags and trash bags
- To tie the reefing points of sails when the wind picks up
- Also used in surgery
How to tie a Square Knot:
- With two ropes, create a loop on the end of the first rope.
- Pull the second rope through the loop, then around it, then back through the loop.
- At this point, you’ll have two loops around each other. Pull to tighten.
- You now have a simple square knot.
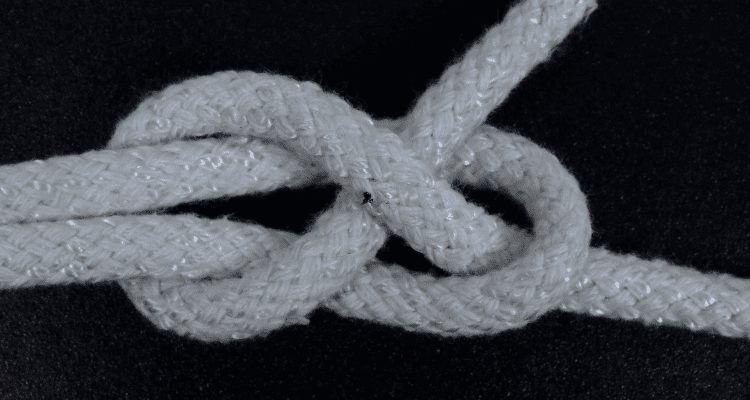
2. The Bowline: The Workhorse of Knots
The Bowline knot is one of the most secure knots you can learn.
Often called the workhorse of knots (because of its common use), the bowline knot is one of the most dependable and versatile knots you can use for a lot of situations. It’s easy to tie around something or around yourself (even using just one hand). It doesn’t cinch down after tying, never slips, and is easy to untie — truly one of the best knots to learn.
You can use this knot in situations such as the following:
- To set up a shelter
- To secure gear against animals
- To rescue people who’ve fallen in a hole or cliff
- Other critical situations
How to tie a Bowline Knot:
- With one rope or string, cross the end over itself then pull it to make a loop-de-loop shape.
- Pull a short amount of the end of the rope back through the loop, threading it loosely.
- Holding to that same end of the rope, pass it underneath the remaining rope.
- Then bring that end back up and pass it through the first loop-de-loop shape.
- Hold the short end of the rope loop tightly while pulling on the other end to tighten.
- You now have a bowline knot.
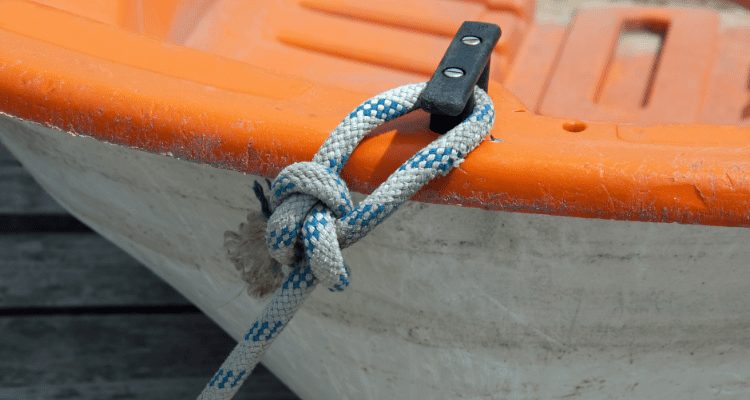
3. The Sheet Bend: Tying Two Ropes Together
The Sheet Bend is best used to join two pieces of rope or string, even those of unequal thicknesses. Also known as the Weaver’s Knot, the sheet bend is related to the bowline and is commonly taught to boy scouts. It’s simple to tie and doesn’t jam.
While it’s great for joining two pieces of rope together, it tends to slip if not under constant tension. For added security, you can add another turn in the smaller end to form a double sheet bend.
You can use this knot in situations such as the following:
- To lengthen a clothesline
- To make junctions for nets
- To build hammocks
- For boating purposes
How to tie a Sheet Bend:
- With two ropes, make a loop on the end of the first rope (called a bight).
- Slip the end of the other rope through the bight from underneath and then around both arms of the bight.
- Bring it back towards the bottom of the U shape, passing under itself but above the bight. Pull to tighten.
- You now have a sheet bend.
- For a double sheet bend, pass the end of the second rope under itself, then around the first rope again, then pass it under itself before tightening.
4. The Clove Hitch: Lengthen and Shorten Without Untying
The Clove Hitch Knot lets you lash something together while still keeping the ability to lengthen or shorten your rope without untying it, which makes adjusting it quick and easy. This knot is one of the most important knots to learn and is often taught to different outdoors people.
It consists of two successive half-hitches around an object and is most effectively used as a crossing knot.
Certain types of cords can make this knot slip, though. It may also be difficult to untie when using smaller diameter cords. Lastly, it becomes unreliable when tied to a square or rectangular post.
You can use this knot in situations such as the following:
- To tie tools midline to a climbing or rigging line and sending them aloft
- To tie multiple branches to a rigging line
- To make rope ladders or railings along a series of posts
- Other non-critical situations
How to tie a Clove Hitch:
- With one rope or string, loop the end around the object you want to hitch to.
- Cross the rope over the remaining length of rope to create an X shape.
- Create another loop around the object by passing the end of the rope through the loop which you just formed. Pull both ends to tighten.
- You’ve got a clove hitch knot.
More recommended reading:
-> An Adventurers Top 20 Travel Items
-> The Essential Ultralight Backpacking Gear List
-Team AdventureHacks
About the Author
I'm David, Founding Nomad of AdventureHacks, Inc. My mission is to inspire adventure on the ground, in the water and through the air. If I also happen to inspire you to purchase gear, my team and I plant a tree in its native environment for every order.


5 thoughts on “4 Essential Survival Knots Every Hiker Should Master”