
Estimated reading time: 8 minutes
How to care for a sleeping bag has changed dramatically over the centuries.
Back in ancient times, humans relied on animal skins to keep them warm at night.
Jump ahead several centuries and you’d find the first pioneers and mountaineers using fur blankets to keep themselves cozy on cold nights.
Eventually…
Francis Tuckett, vice-president of the English Alpine Society, would use a rubber waterproofed textile that, several innovations later, would eventually evolve into modern sleeping bags.
While today’s sleeping bags do a better job than their predecessors, they come with some setbacks, particularly when it comes to maintenance and cleaning.
While our forefathers would just leave their animal skins or wash their blankets after use, modern sleeping bags require more care. This is one situation where modern solutions lead to modern problems.
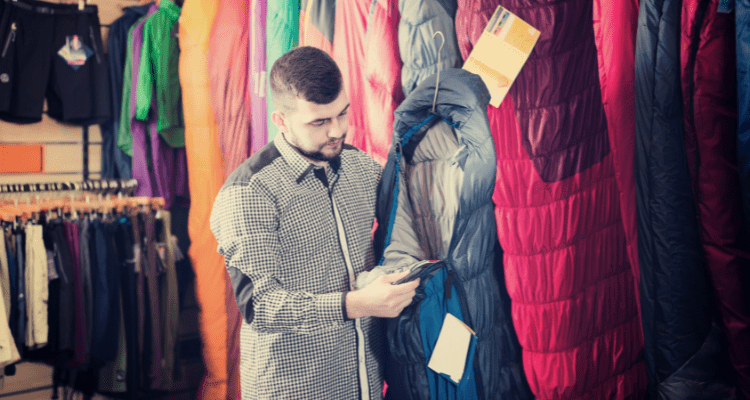
It’s worth noting that the TETON Sports LEEF Ultralight Mummy Sleeping Bag is my favorite for the time being.
It’s light, easy to clean, durable, and breathes well while keeping you warm.
How to Take Care of a Sleeping Bag After Use
How do you take care of a sleeping bag?
Below I’ve listed my top 8 tips to help you keep your sleeping bag clean and in tip-top shape.
Matter of fact, here are 8 Tips for How To Stay Clean While Camping as well.
1. Repairing Your Sleeping Bag If Damaged
The first thing you should do after coming home from your trip is to inspect your sleeping bag thoroughly.
Check for small holes and tears in the shell that may have occurred while you were out in nature. Failing to do this may result in your bag’s insulation escaping.
If you find any holes or tears, sew them up by hand. This can be done before you get home from your trip.
When you get back home, you can remove the hand stitching and this time go over it more durably with a sewing machine.
While still outdoors, don’t use adhesive patches to repair damage to your bag.
The sticky adhesive will remain and/or it may cause the rip to widen when you try to remove the patch later.
Instead, use a wound bandage from your first aid kit then get your bag professionally repaired when you get home.
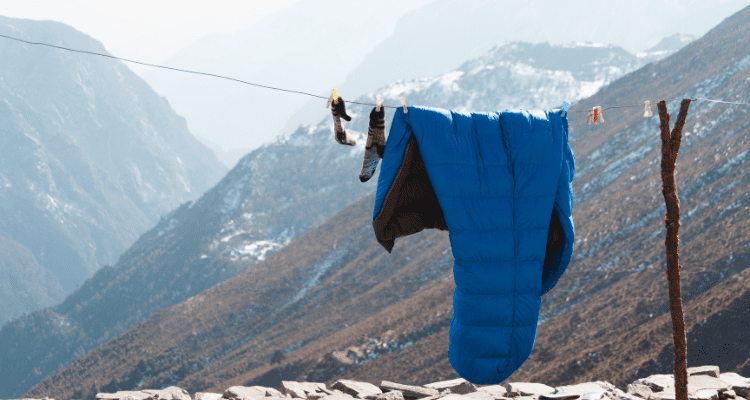
2. Air it Out After Use
After you’ve checked for any damages to your sleeping bag, it’s time to air it out.
This should be done daily to ensure your bag stays dry and mold-free.
I like my Osprey Ultralight 6 Dry Sack to keep my bag dry and safe on backpacking trips.
Depending on where you live, you may have to wait until midday before you can do this.
Make sure to turn your sleeping bag inside out otherwise the inside won’t dry properly.
Don’t leave your bag in direct sunlight for extended periods of time. Direct UV light can gradually degrade the fabric.
Soaking wet bags will have to be aired out for several hours to rid all the moisture.
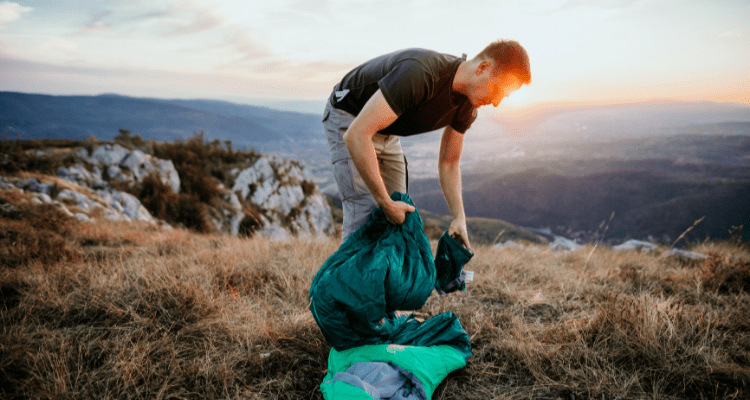
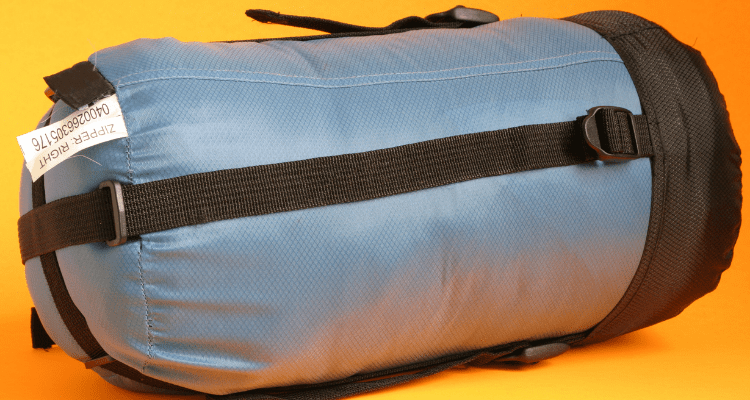
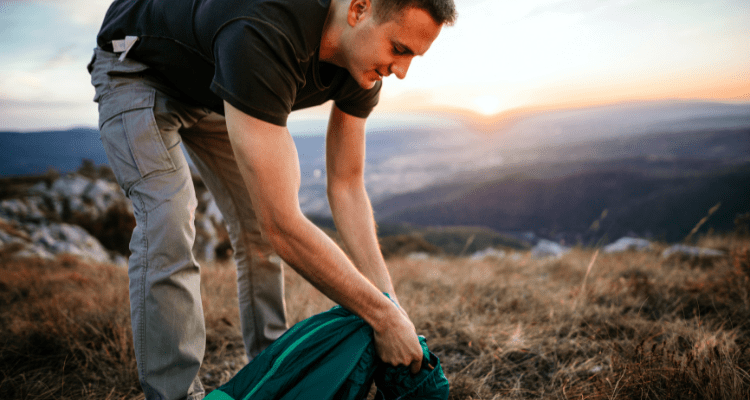
3. Storing Your Sleeping Bag Properly While Adventuring
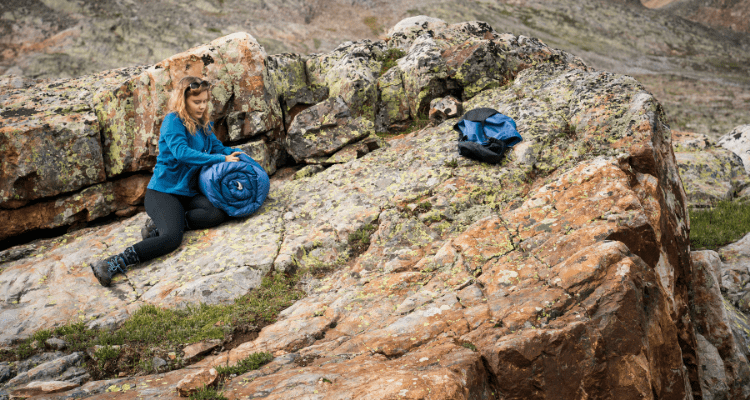
Another way to care for your sleeping bag is to know how to store it in a stuff sack correctly.
Don’t just literally stuff it in there. Instead, follow these steps to make sure you’re not damaging your bag while storing it:
- First, partially close the foot of the sleeping bag
- With firm pressure, push the foot of the sleeping bag into the bottom of the sack
- Then just stuff it evenly as you go up
This simple procedure releases air at the top and places even stress on the bag’s stitching.
Be sure to turn your bag inside out if it has a waterproof shell as this may act like a balloon and trap air in.
4. Store it Properly At Home
Storing your sleeping bag in a stuff sack is one thing. Storing it properly when you get home is another.
It may not seem like much but knowing how to store your bag properly at home determines how long your bag will stay usable.
That cotton or mesh bag you got when you bought your brand new sleeping bag is there for a reason.
That’s where you store your bag loosely after you’ve checked for damage and aired it out thoroughly.
If your bag didn’t come with this sack, use a large pillowcase or even make your own cotton sack in a pinch.
This ensures you don’t damage your bag’s fill and that condensation doesn’t build up to form mildew during storage.
5. Find Out What Your Sleeping Bag Is Made Of
Your sleeping bag rarely stays clean when backpacking or camping.
Debris like sticks and stones can get trapped inside your bag and cause rips and tears; while mud and grime on the outer shell can cause unsightly discoloration and track dirt into your home or car.
This is why it’s important to keep your bag clean after use.
Before you put soap to water, pay careful attention to what your bag is made of.
The materials your sleeping bag consists of will affect what you use to clean it and how you do so.
- What’s the shell made of?
- What about the fill?
While it may be safer to have it professionally cleaned, you can do it yourself with some thought and preparation. Don’t use the dryer, let it hang dry.
Also, using a sleeping pad will go a long way in preserving not just your back, but your actual sleeping bag too.
I prefer the Eco Friendly Hybern8 Ultralight Inflatable Sleeping Pad for my backpacking and camping trips.
6. Spot Clean Your Sleeping Bag Before You Wash
Unless your sleeping bag is caked in mud and grime, odds are it’s going to do better with just a spot clean instead of a full wash.
Washing isn’t always the best solution since it causes wear and tear and decreases the loft in down sleeping bags.
If you’ve ever soaked a down pillow, you should be familiar with this effect.
So, instead of dipping your bag for a wash, get some non-detergent (try Castile) soap and water and use an old toothbrush to whip it into a paste.
Then it’s just a matter of scrubbing the areas where hair and oils accumulate such as your bag’s hood and collar.
You can also do this with dirty areas on the shell, although you will need to hold the shell or liner fabric away from the insulation.
7. How to Wash a Sleeping Bag
While spot cleaning is your first line of defense against dirt, sometimes your bag needs a wash to get the job done.
First, look for the manufacturer’s washing instructions and strictly follow them. If you’re nervous about messing it up, you always have the option of professional cleaning.
Don’t take your bag to the dry cleaners, though.
The chemicals they use will strip the oils from down and can even melt synthetic fill. On the same note, don’t use fabric softeners or alternative bleach products.
Watch out for top-loading machines with an agitator as this can rip the seams. You may want to wash your bag by hand instead (in the tub or sink).
When washing by hand, remember the word “gently” and your bag should be fine.
Lay the bag in a tub with cool or warm water. Add the correct soap. Rub the dirty areas then work the water out.
Drying will take several hours.
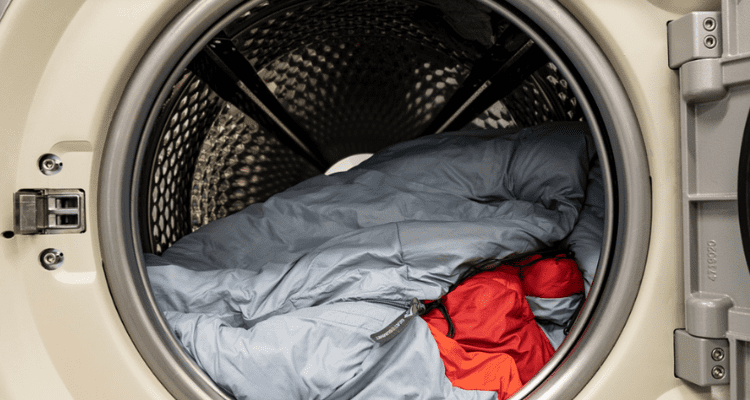
8. Dry it Properly
If you have a dryer at home and don’t live in a region where you can hang dry, set the dryer on low heat.
This is crucial as machine heat usually varies.
Too hot and the fabric or synthetic fill could melt.
Two or three clean tennis balls or a lightweight pair of sneakers can come in handy when drying a down bag.
Once the bag is nearly dry, add the tennis balls or sneakers in there to help break up down clumps as the machine spins. This also helps restore the loft.
Never store your bag in its storage sack unless it’s completely dry. Leave it out overnight or hang it on toe loops to be extra sure.
That’ll do it for this one.
More Adventure Related Reading:
8 Tips For How to Stay Clean While Camping
10 Tips For How to Prevent Blisters While Hiking
10 Tips for How to Protect Yourself from Mosquitoes & Ticks While Hiking
An Adventurers Top 20 Essential Travel Items
Like This Article On Helpful Tips for How to Care for a Sleeping Bag
Please consider sharing on Twitter.
To your next adventure!
-David

About the Author
I'm David, Founding Nomad of AdventureHacks, Inc. My mission is to inspire adventure on the ground, in the water and through the air. If I also happen to inspire you to purchase gear, my team and I plant a tree in its native environment for every order.


3 thoughts on “8 Tips for How to Care for a Sleeping Bag After Use”